Hanging your photo mosaic - 5 easy steps
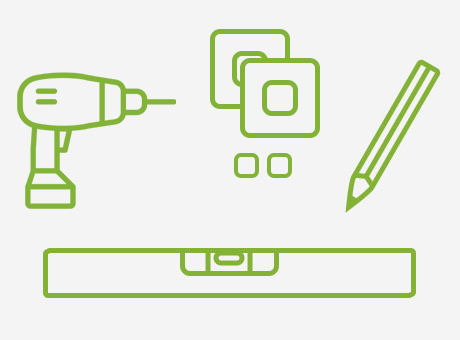
What you need
For hanging your print you need: mountings, drilling machine (or hammer), spirit level and a pencil.
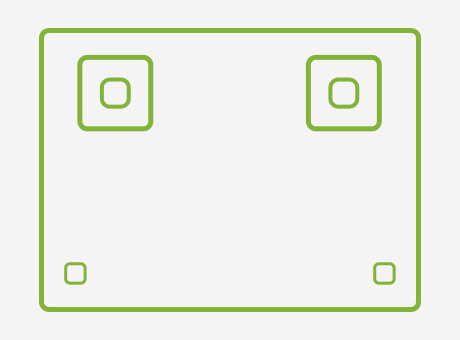
1. Attach mountings
The mountings have to be glued or screwed on the photo. (Check the attached manual!)
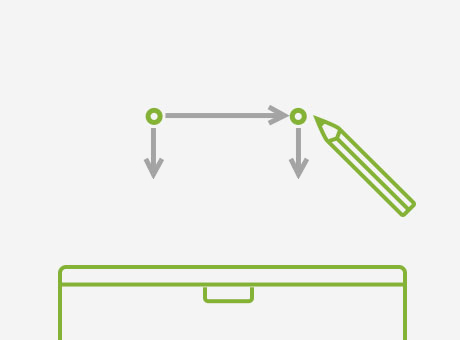
2. Mark drilling holes
Mark the drilling holes and use a spirit level.
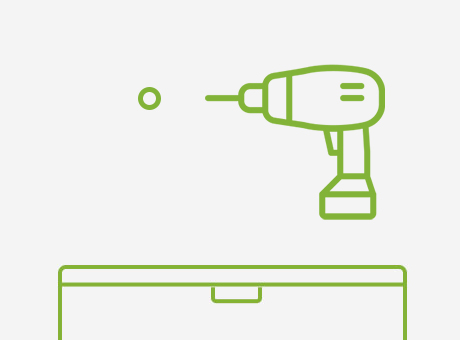
3. Drill holes
Drill the holes at the marked spots on the wall and attach the mountings.
4. Hang print
Now just hang the print on the fixings in the wall.
5. Hooray!
Congratulations: If you still got all you fingers you can give yourself a well deserved High Five.